Thursday, August 16, 2012

Cacti Adventure!

Little Cactus Bits

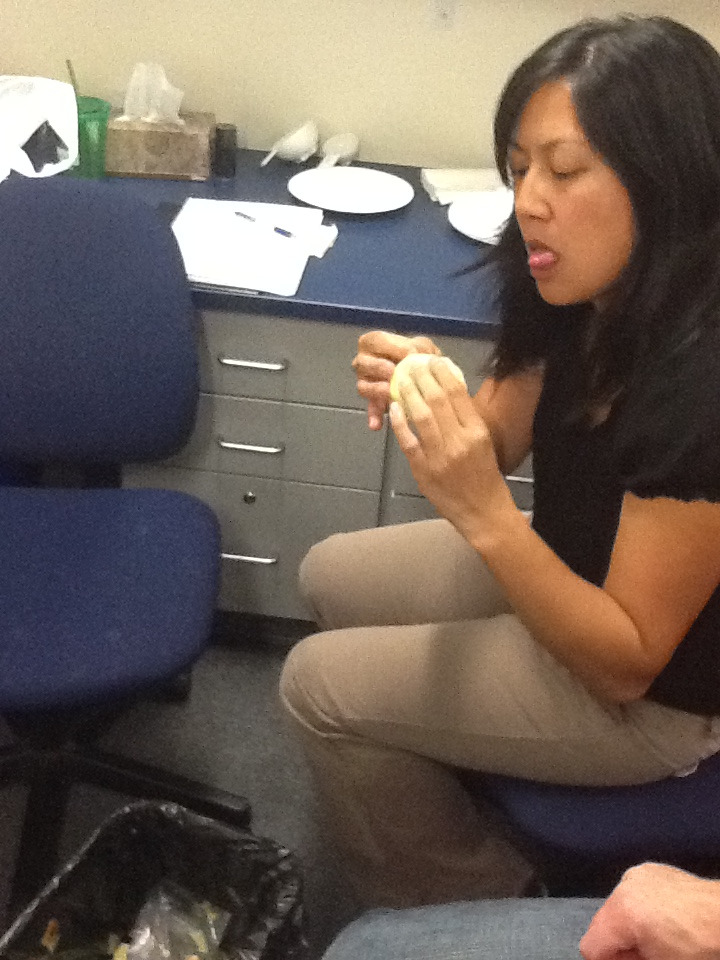
Fig 1.  This is what a cactus looks like, Ima gunna eat it!!

La Introducción:

If you're at all like me, and I'm sure you are, then you've no doubt casually been perusing your local grocers and asked, "What the heck is up with these full sized cacti pads and why are they for sale in the vegetable section??"  Well apparently it means that my local Cub Foods has a large Central American/ Mexican population near it!

These pads are from the Prickly Pear Cactus and also known as Nopals or if you bastardize Spanish as I am wont to do then you call them Nopalalalalalalalalalalalalalas, which causes quite the kerfuffle at the cash register.  Central Mexicans have been eating them since before the Spanish came with their pox blankets (1)! The best time to find/buy these leaves is in the early spring, however as I am a maverick I bought them in late spring, so probably got subpar cactus, but it's my first time trying it so I won't know any better!   Make sure you avoid the wrinkly ones and you'll be fine!  It's quite the big business in Mexico producing around 150 million dollars every year (2), they can really pack away the cacti!  You can prepare nopalalalalalalalalalalas by grilling, boiling, frying, or whatever decent things you do to a vegetable. If I've learned anything watching "Dora la Explorer" with my nieces I know Mexicans occasionally hide small mammals in them as well!

Fig 2.  No swiping YOU FILTHY ANIMAL!


El Materialioes:

Fig 3.  Time to fry us up some NOPALALALALALALALALALAS AREBA!
1 Cactus Leaf
1 Egg
1/2 tsp lemon juice
3 Tblspn Milk
2 Tblspn flour
1 tsp pepper
1/8 tsp sea salt


La Methodoes:

1) Chop the nubbins off your cactus and remove any stray needles.  Wash in cool water until you're muy satisfiedo.

Fig 4.  This process is the most time consuming part.  If you're like me and impatient you'll just start ripping them off with your fingernails!


2)  Cut into strips about 6in long and wide enough to fit into your mouth.

3)  Combine eggs, lemon juice, and milk in one bowl.  Beat with a fork or whisk until combined.

4)  In a second bowl combine the rest of your ingredients.

Fig 5.  If it looks like this, then you did it right!  Felicitaciones!


5)  Dip a strip first in the egg bowl, then in the flour bowl.

6)  Heat a frying pan with about 1-2 tablespoons of oil (olive or otherwise) over medium high heat. Now toss in your cactus strips!  It helps if you shout olé at this point (or if you're in Minnesota you can just shout OLE and Sven), I know it helped me.  Cook for about 3-4 minutes turning infrequently until browned.

Fig 6.  Hear that sizzle?!

Fig 7.  We did it, we did it, Lo hicimos, we did it! Hooray! 


El Resultoes y La Discussion:

These were actually pretty tasty, although I am currently recovering from a cold and can't taste a whole lot, but what I could taste was very good!  They tasted similar to green beans and I think they would taste simply cactastic in a dish with chicken, onions, Mexican cheese (queso), and mushrooms to see if anyone notices the difference!  I tried to pan fry them without any dipping in the egg or flour, but this led to a drastically smaller cooking time and I tragically burnt them, I could definitely taste those (they tasted like burning).  I would completely recommend these to anyone trying to branch out or try new things (that's why it's called Mex-I-CAN!), except it's annoying trying to trim off all those nubbins!  I give it 9 out of 10 OLE's!

Literatureo Citedo:

1)  http://www.gourmetsleuth.com/Articles/Ethnic-Unique-Foods-Ingredients-645/nopalitos.aspx
2)  http://en.wikipedia.org/wiki/Nopal

Friday, August 3, 2012

Apple ADVENTURE

Spooky Shrunken Apple Heads
Introduction:

This year I'm going to try to make more homemade decorations for Halloween instead of buying them from the store.  Hopefully my house looks spooky and not cheap and jumbled! This week I decided to make Shrunken Head Apples!  Originally this was from a kit from Vincent Price so you know it's gotta be good!

Fig 1.  Original packaging for shrunken head kit, although I'm guessing mine will look less awesome then the professionals!

Materials:                                                                  
Fig 2.  Implements for our creations!  
You may want to take this time to laugh maniacally...I know I did!!


1)  Apples (Granny Smiths are the biggest, but since we're not eating them just grab whatever you want, they don't have to be perfect so just buy them already!!)
2) Whole Cloves (Spoiler these are for the eyes so you don't REALLY need them unless you want blind faces and/or googly eyes)
3) Grains of rice (these are for the teeth!)
4) 2 tsp salt
5) 1/2 cup lemon juice 

Procedure:

1)  Mix together the lemon and salt, peel your apple,  coat it in the lemon and salt mixture, wince at how much it hurts getting salt and lemon in a paper cut you didn't realize you had, curse Vincent Price, uncurse Vincent Price out of fear of ghostly reprisal.

2)  Use a small knife to cut out the eye sockets, nose, ears, and mouth.  Use big details as small ones are for losers and you won't see them once they dry.

3) Shove whole cloves in the eye sockets and rice chunks in the mouth hole.

4) Place your creation on a wire frame in a warm dry place, I chose work as the added benefit of freaking out my friends and all the weird looks just adds to the whole creepiness of Halloween. Also, who needs a friggin wire frame when a window frame will do (actually the wire frame probably would have helped a lot).  These need to dry for about 2 weeks, so I hope you planned ahead and started doing this early!  All my friends make fun of me for making Halloween happen months in advance, but who's laughing now?!

Fig 3. One of the perks of doing an adventure at work is getting helpers!!

5)  Insert fishhooks and fish line to hang up and around your humble abode!  Perfection!

Results and Discussion:
                                 
Well carving these at work was a REALLY good idea! It was both fun and I could enlist my coworkers to help me!!  After carving each apple we set them up to dry.  Here's some picture selections of the drying process.

Fig 4. A)  This was day 1. B) Day 3 of dehydration. C) I really should have kept better track of the days I took these pictures...um...Day  7 probably, this is when the mold began.  D) Day 12.  E) Day 14, DONE, oh what a world what a world!


A) 
                                                         B)
                                                                                                                C)


D) 
E)

I did have some problems with mold growing but that's because my workplace refuses to turn on the air before 10am (which is why I'm always sweating at work).  However, a bleach bath (~10% bleach solution) soaking for about a half hour worked wonders!  Although make sure to wear the proper PPE when working with bleach (gloves and labcoat/apron if you're not "cool" enough to have a lab coat!

They turned out very nice however next time I'd store them somewhere a little drier to avoid mold growth, and try hanging them up/setting them on a wire rack to dry to avoid the squat appearance that they got..  You can add spooky toppings like glued on doll hair (from creepy doll collection) or dried plant material from a craft store! You could also make them a jaunty hat which looks just plain cool!

Supplementary information

Well now what are we going to do with all these extra apples?! We can make my favorite pie of all time...Apple Pie!!

Apple Pie
Fig S1.  YUM!  

Materials and Methods:
Fig S2.  There really aren't too many ingredients!
1 frozen pie crust (my grandma always used store bought crust so that's good enough for me too!)
1/2 cup unsalted butter
3 TBS all-purpose flour
1/4 cup water
1/2 cup white sugar
1/2 cup packed brown sugar
6-8 apples (I prefere homeycrisp, pink ladies, or fuji apples)


1) Preheat oven to 425 degrees F. Peel, core, and slice apples.

Fig S3. Probably the most time consuming part of this recipie, where's my coworker when I need her?!
2)    Melt butter in a saucepan and stir in flour to form a paste.


Fig S4.  Paste!  I wouldn't recommend eating it though!

3) Add water, white sugar and brown sugar, and bring to a boil reduce temperature and simmer.

Fig S5.  My favorite things to cook involve a lot of SIZZLE!

4) Place apple slices in crust and cover with a lattice

Fig S6.  Be careful with the lattice, it can be a little tricky!

5) Gently pour the sugar and butter mix over the crust, be careful now you don't want to lose any precious fluid!!

Fig S7.  Yum!  It took all of my self-control to not just chow down on this right away!

6) Place in preheated oven for 15 minutes (make sure to put something under the pie so as to catch any drippings). Reduce temperature to 350 degrees F and continue baking for 35 to 45 minutes or until apples are soft and you can't resist eating some pie!! 

Fig S8.  You'll notice the apples have shrunken from their mound similarly to our apple heads, this is because there's a lot of friggin water in apples!!!

I must admit I've made this recipie several times so I didn't really have any problems except of course for spilling over some of the caramel mix, which pretty much always happens so don't feel bad if it happens to you too!!

References:

1)  Vincent Price.  Shrunken Head Apples.  1970's sometime!